Key Takeaways:
- Small holes in a concrete driveway are usually caused by surface spalling, freeze-thaw cycles, or poor installation — and can worsen fast if ignored.
- DIY patching works for minor surface damage, but deeper or widespread holes often signal structural issues that require professional repair or full replacement.
- Southwest Florida’s unique climate creates specific concrete damage patterns that differ from colder states — knowing the difference helps you act faster and spend smarter.
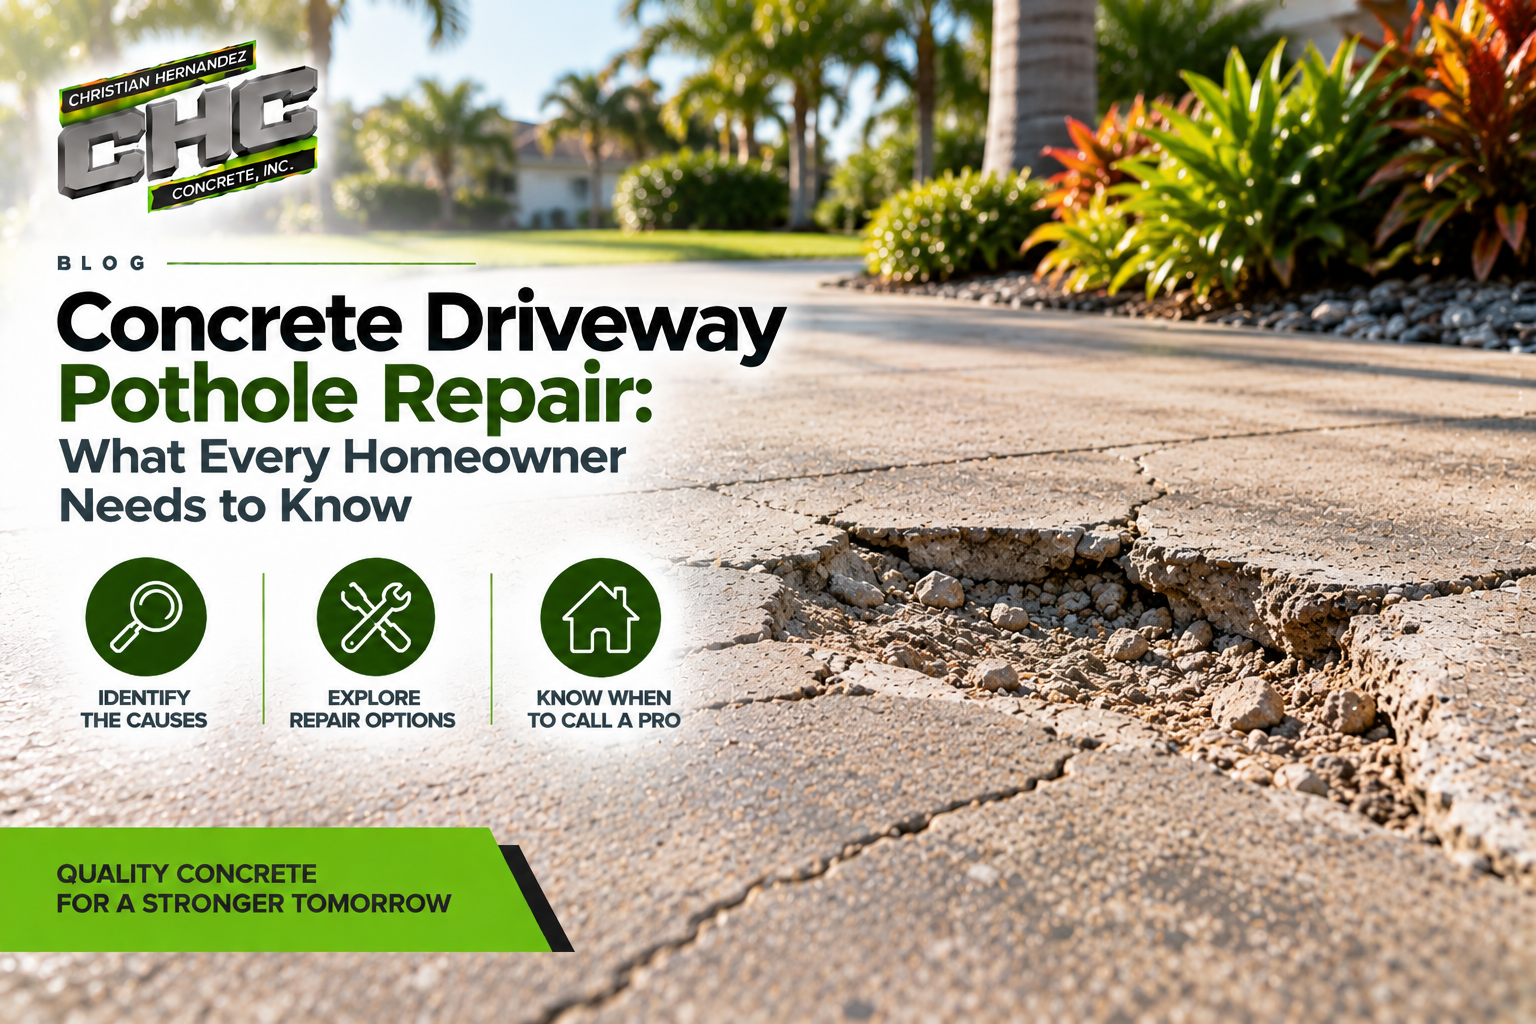
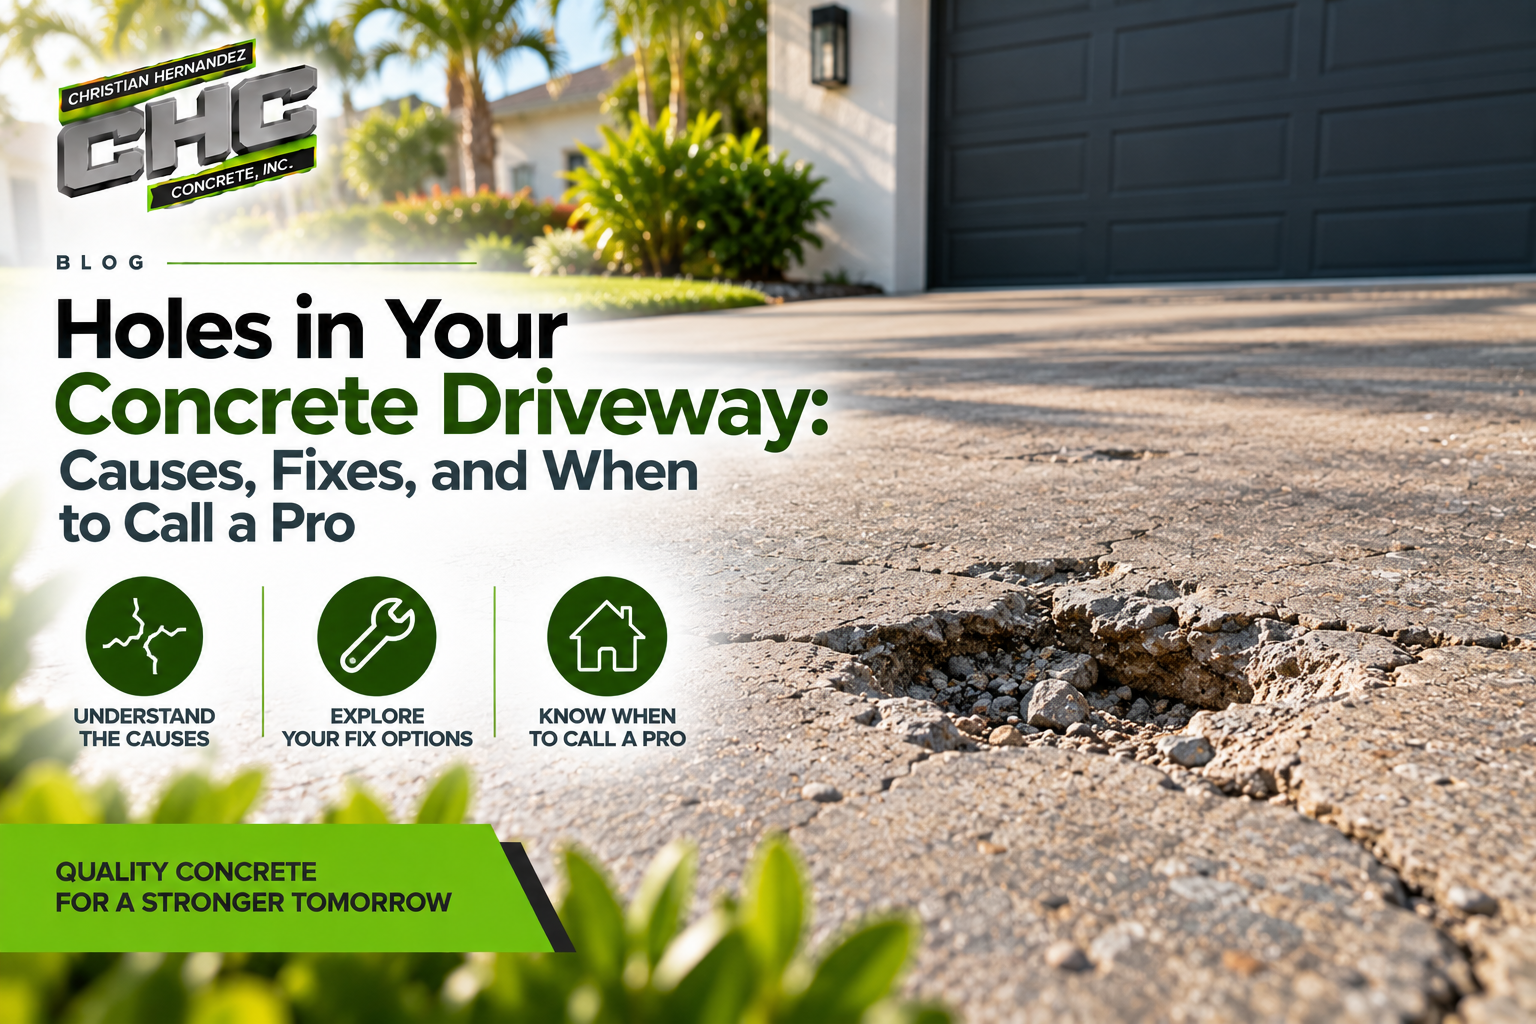
You walk out to your driveway one morning, and there it is — a hole, a pit, or a cluster of small craters breaking up what used to be a smooth concrete surface. It happens to homeowners across Southwest Florida more often than you’d think. The good news is that not every hole signals a catastrophic failure. The bad news is that ignoring even a small one can turn a minor repair into a full replacement job.
This guide breaks down everything you need to know: what causes holes in concrete driveways, how to assess severity, what your repair options look like, and when it makes more sense to bring in a professional rather than reach for a bag of concrete patch from the hardware store.
Why Holes Form in Concrete Driveways
Concrete is durable, but it isn’t indestructible. The holes and pits you’re seeing didn’t appear randomly — they have causes, and understanding those causes is the first step toward fixing them correctly.
Surface Spalling
Spalling is one of the most common culprits. It happens when the top layer of concrete flakes, chips, or pops off, leaving behind shallow pitted areas or cratered patches. In colder states, road salt and freeze-thaw cycles are the primary drivers of spalling. In Southwest Florida, the equation is a little different — intense UV exposure, moisture infiltration, and the occasional overnight cold snap during winter months can still cause the surface to deteriorate over time.
Spalling often starts small and spreads. What looks like cosmetic surface damage today can expose the aggregate and reinforcement below, accelerating the overall deterioration of your driveway.
Poor Installation or Low-Quality Mix
If holes appear relatively soon after a driveway is poured — within the first year or two — the problem often traces back to the original installation. An improper water-to-cement ratio during mixing weakens the final product. Too much water added on-site to make the pour easier is one of the most common jobsite shortcuts that creates long-term problems for homeowners.
Inadequate curing time, improper finishing techniques, or an overly thin slab can all lead to a surface that begins pitting and cracking before it’s had a real chance to perform.
Water Erosion and Drainage Issues
Water is patient. Over years, poor drainage around your driveway can allow water to pool and slowly erode the surface. More critically, water that infiltrates through existing cracks and works its way beneath the slab can wash away the subbase material — the compacted fill that supports the concrete from below. When the subbase erodes, the concrete above it loses support, and that’s when you start seeing not just surface holes but actual sinking, cracking, and structural failure.
In SWFL, heavy seasonal rainfall makes drainage a major concern. If your driveway sits at a slight low point or your gutters are directing water toward the slab rather than away from it, you’re accelerating the damage cycle.
Tree Root Intrusion
Florida’s lush landscaping is one of its selling points — but tree roots and concrete don’t coexist peacefully. Root systems from nearby trees can grow beneath a slab and create uneven pressure that fractures the surface, producing holes and lifted sections that are as much a tripping hazard as they are an eyesore.
Age and General Wear
Even a well-installed concrete driveway has a lifespan. With regular use, vehicle traffic, and weather exposure, surface degradation is natural after 20 to 30 years. Heavy vehicles — delivery trucks, RVs, equipment — can accelerate wear, particularly if the slab wasn’t designed with heavier loads in mind.
How to Assess the Severity of Holes in Your Driveway
Not all holes are equal. Before you decide between patching it yourself and calling a contractor, you need to get a realistic read on what you’re actually dealing with.
Surface-level pitting: Shallow holes that don’t go deeper than a quarter inch are typically cosmetic or early-stage spalling. These are the most DIY-friendly situations.
Mid-depth holes: Holes that are deeper than half an inch, have ragged edges, or sit near visible cracks are more serious. They may indicate subsurface issues or structural weakening.
Holes with voids underneath: If you tap around the edges of a hole and hear a hollow sound, the subbase beneath has likely eroded or shifted. This is a red flag. Surface patching alone won’t hold if there’s no support beneath the concrete.
Multiple holes across a large area: Widespread damage that covers more than 25 to 30 percent of your driveway surface is typically more cost-effective to replace than repair, especially when you factor in the ongoing maintenance a heavily damaged slab will demand.
DIY Repair: When It Makes Sense and How to Do It Right
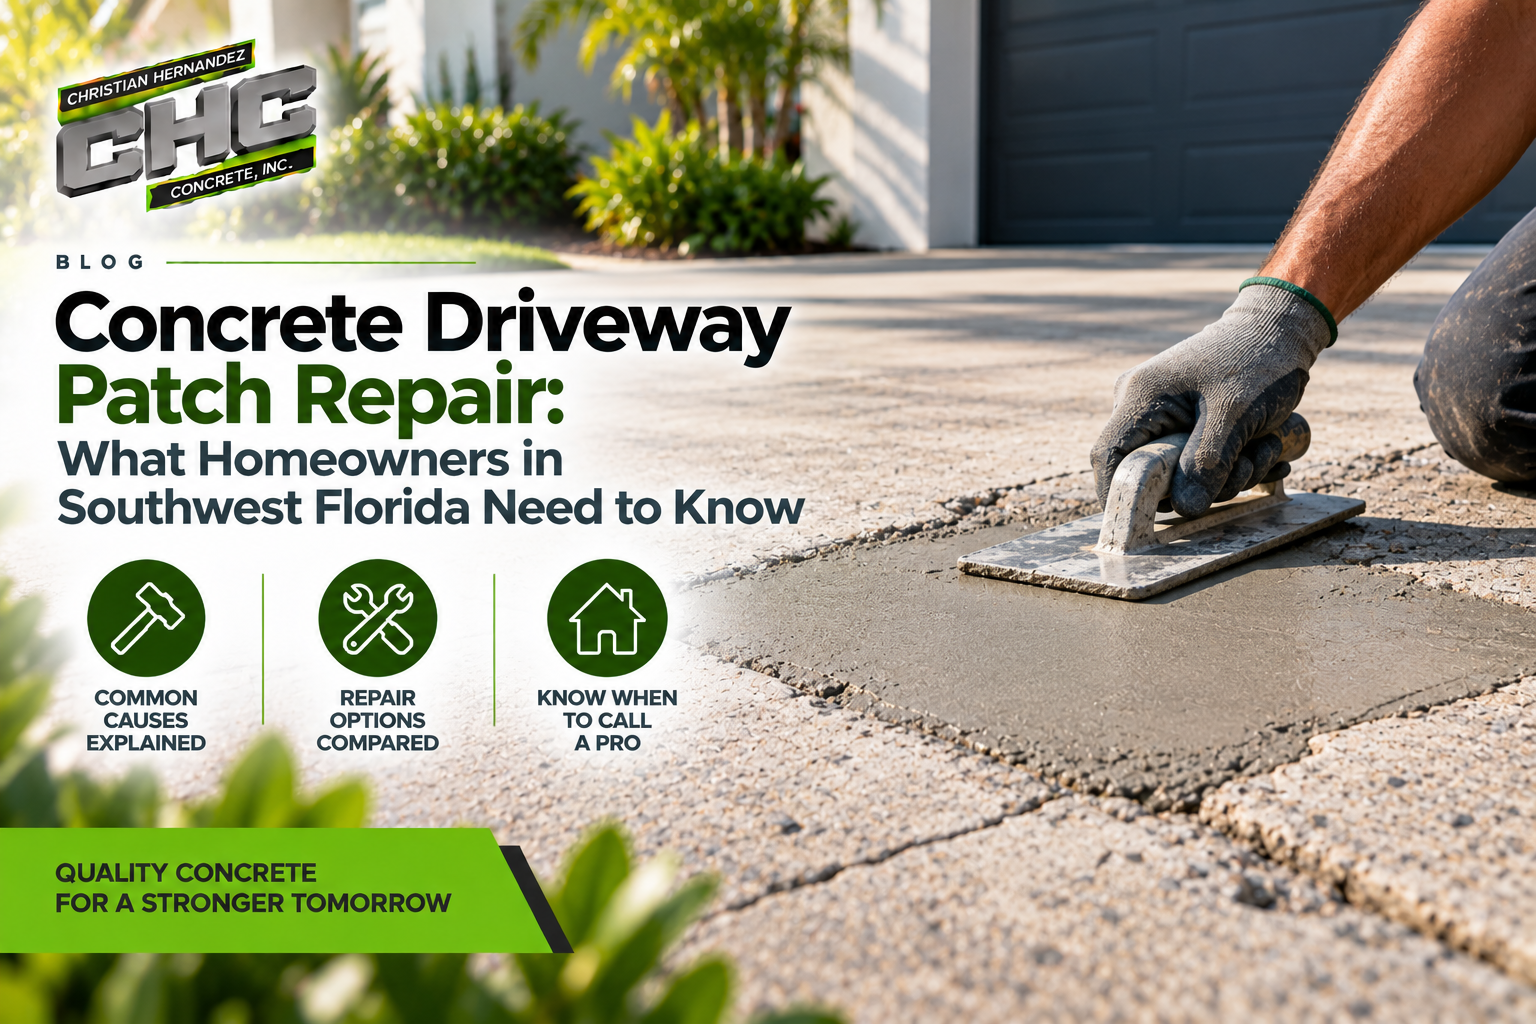
For small, isolated surface holes, a DIY repair is a reasonable option — as long as you do it correctly. A sloppy patch job often fails within a season and can make the surface look worse than before.
What you’ll need:
- Concrete patching compound or vinyl concrete patcher
- Wire brush or angle grinder
- Bonding adhesive
- Trowel
- Water for curing
The process:
- Clean the damaged area thoroughly. Remove all loose material, dust, and debris using a wire brush or grinder. The patch won’t bond properly to a dirty or unstable surface.
- Wet the area slightly before applying the patch. This prevents the existing concrete from drawing moisture out of the patch too quickly and weakening the bond.
- Apply a concrete bonding adhesive to the repair area. This step is frequently skipped and is one of the primary reasons DIY patches fail prematurely.
- Mix and apply your patching compound according to the manufacturer’s directions. Work it firmly into the hole and feather the edges to blend with the surrounding surface.
- Finish the surface to match the existing texture as closely as possible.
- Keep the patch moist for at least 24 to 48 hours to allow proper curing.
The honest caveat here: even a correctly executed DIY patch will often be visible as a color mismatch against your existing driveway. If appearance matters, professional repair or resurfacing may be a better fit.
Professional Repair: What the Options Look Like
When the damage goes beyond surface cosmetics, a professional concrete repair assessment is the smarter move. An experienced contractor will evaluate the slab, the subbase, and the surrounding drainage conditions before recommending a course of action.
Concrete Resurfacing
If your slab is structurally sound but the surface is heavily pitted, spalled, or cratered across a wide area, resurfacing is an option worth considering. A thin overlay compound is applied over the existing concrete, creating a new, smooth surface. This can extend the life of your driveway significantly without the cost of full replacement.
The key word there is “structurally sound.” Resurfacing doesn’t fix what’s happening beneath the surface. If there’s subbase erosion, void formation, or significant cracking, a resurfacing job won’t hold for long.
Slab Lifting and Void Filling
In cases where holes are accompanied by sunken sections or hollow spots, contractors may use techniques like mudjacking or polyurethane foam injection to fill voids beneath the slab and lift it back to level. This is particularly relevant in SWFL, where expansive soils and water infiltration can compromise the ground beneath your concrete over time.
Full Driveway Replacement
Sometimes the math just doesn’t work in favor of repair. If you’re looking at widespread damage, significant structural failure, or a driveway that’s already had multiple patch jobs over the years, a full concrete driveway replacement is the most cost-effective long-term decision. A new slab, properly installed with adequate thickness and a well-prepared subbase, will outlast the original if the conditions that caused the damage are addressed first.
Repair vs. Replacement: A Direct Comparison
| Factor | Repair | Replacement |
|---|---|---|
| Damage area | Less than 25% of surface | More than 25–30% of surface |
| Depth of holes | Surface-level (under 1 inch) | Deep, structural, or with voids |
| Slab age | Under 15 years | 20+ years with multiple issues |
| Cost | Lower upfront | Higher upfront, lower long-term |
| Appearance | Patchy, color mismatch possible | Uniform, fresh surface |
| Longevity of fix | 2–5 years depending on damage | 25–30 years with proper install |
Florida-Specific Considerations for Concrete Driveway Damage
Southwest Florida homeowners face a unique combination of environmental factors. The region doesn’t deal with the salt and ice conditions that destroy driveways in northern states, but that doesn’t mean your concrete is off the hook.
UV degradation is real and accelerated in Florida’s sun. Over years, UV exposure dries out the surface and contributes to shrinkage cracking and surface fragility.
Seasonal rain volume creates drainage challenges that don’t exist in drier climates. SWFL can receive 50 to 60 inches of rainfall annually, and water management around your driveway plays a direct role in how long it lasts.
Soil movement is a factor as well. Florida’s sandy and sometimes muck-laden soils don’t always provide a stable, consistent subbase over time, particularly after heavy rain events or prolonged drought cycles that cause the soil to shift.
If you’re in Fort Myers, Cape Coral, Naples, Bonita Springs, or the surrounding area, these are the conditions your contractor should be factoring into any repair or replacement recommendation.
How to Prevent Holes From Forming in the First Place
Prevention isn’t glamorous, but it’s significantly cheaper than repair. A few consistent habits go a long way toward extending the life of your concrete driveway.
- Seal your driveway every 2 to 3 years. A quality concrete sealer closes surface pores and dramatically reduces moisture infiltration. In Florida’s wet climate, this is a high-ROI maintenance step.
- Keep water draining away from the slab. Check that your gutters and downspouts direct water away from the driveway edge. Grade issues around the perimeter of the driveway should be addressed early.
- Address cracks immediately. Small cracks are the entry points for water that eventually leads to holes. Crack filling is cheap. Ignoring it isn’t.
- Avoid chemical deicers. While ice isn’t a major concern in SWFL, if you travel to colder areas and bring vehicles back with salt residue, rinse the driveway off periodically.
- Be cautious about heavy vehicle traffic. If you’re regularly parking an RV, commercial truck, or heavy equipment on your driveway, confirm the slab thickness can handle it.
When to Call CHC Concrete
If you’re in Southwest Florida and you’re looking at holes, pitting, cracking, or widespread surface damage on your driveway, the honest answer is: get a professional eye on it before you spend money on a patch that won’t hold.
CHC Concrete has been serving homeowners across Fort Myers, Cape Coral, Naples, Bonita Springs, Estero, and the surrounding SWFL area for over 35 years. With more than 150 five-star Google reviews, the team brings the kind of regional experience that matters when you’re dealing with Florida-specific soil conditions, drainage patterns, and weather factors.
Whether your situation calls for targeted concrete repair work or a complete concrete driveway replacement, a free assessment gives you real answers — not guesswork.
Frequently Asked Questions
What causes small holes to appear in a concrete driveway?
Small holes are typically the result of surface spalling, moisture infiltration, poor curing during installation, or erosion of the aggregate over time. In Florida, UV exposure and seasonal rainfall accelerate the process.
Can I fill holes in my concrete driveway myself?
Yes, for shallow surface holes under about half an inch deep, a DIY vinyl concrete patcher with a bonding adhesive can work. Deeper holes, holes with hollow spots underneath, or widespread damage are better handled by a professional.
How much does it cost to repair holes in a concrete driveway?
Minor repairs can range from $100 to $500 for small isolated areas. Larger repairs, resurfacing, or void filling can run $500 to $3,000 or more depending on scope. Full replacement costs depend on the size of the driveway and site conditions.
How do I know if my driveway needs repair or full replacement?
If damage covers less than 25% of the surface and the slab is structurally sound, repair is usually the right call. If damage is widespread, the slab is old, or there are hollow voids beneath the concrete, replacement often makes more financial sense long-term.
How long does a repaired concrete driveway last in Florida?
A quality professional repair can last 5 to 10 years or more depending on the extent of the original damage and how well the underlying conditions are addressed. A full replacement with proper installation and subbase prep should last 25 to 30 years.
CHC Concrete serves Fort Myers, Cape Coral, Naples, Bonita Springs, Estero, North Fort Myers, and surrounding Southwest Florida communities. Contact the team for a free driveway assessment.